Are you looking for a solution to upload EML files to Mailfence? Then no need to go anywhere because in this post we explain the the both manual and automated solution to import eml files to Mailfence. So read this post very carefully if you want to 100% accurate results.
Table of Contents
Manual Conversion Process to Import EML to Mailfence
Luckily, you have manual solutions to export EML data to Mailfence. We have discussed the manual conversion solutions here to let you pick a suitable option. Before you choose any manual import process, we want to drag your attention to the fact that Mailfence allows users to import EML files manually with 50MB file size limit only.
Solution 1: Conversion of EML to Mailfence Account
- Access your Mailfence account.
- On the top, hit the Message button

- Click on the More (…) tab and then hit Import.
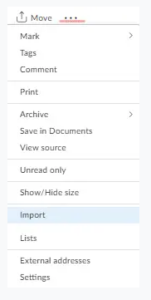
- Press the Import tab.
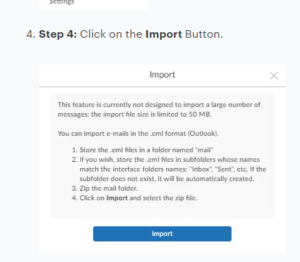
It is how you can export EML data to Mailfence. If you have multiple folders, zip these folders and then upload them.
Also Read:- Upload emails from Thunderbird to Office 365
Solution 2: Using Thunderbird to Export EML Data
Do you know you can configure Thunderbird to a third-party cloud tool to export EML data swiftly? Thunderbird is an open-source. Download it to facilitate the conversion process.
Step 1: Export EML Data to Thunderbird
Follow the below methods to export EML to Thunderbird.
Important Note: Configure your Mailfence account with Thunderbird, but before that download the ImportExpertToolsNG add-on. It establishes connection of Thunderbird to the desired cloud platform.
- Access your Thunderbird account.
- Right-click on any folder and select the “Make Folder” from the dropdown.
- Provide a unique name to the folder and hit the “Create Folder” tab.
- And then, right-click on the newly created folder and a list will appear.
- Select the ImportExpertToolsNG add-on and then click on Import Messages option from the given list.
- Click on the Browse tab and locate and select EML files, press ctrl+A to select all messages and hit the “Open” tab.
Now, you can see EML files are in your Thunderbird account. Get ready to configure Thunderbird to Mailfence.
Step 2: Configure Thunderbird in Mailfence Account
- Go to your Mailfence account.
- Press the Settings option, press the Messages tab and hit External addresses.
- Now, select the Mailfence account.
- Provide the email address and password for configuration.
Now, your Mailfence account is ready to take up EML data. Use the drag and drop option to add emails.
Downsides of Manual Configuration
- Mailfence accepts only 50 MB files. The process will stop if the file size is larger.
- The second method is time-consuming if you have multiple EML files to export.
- It is tiring to follow multiple steps.
- Thunderbird email client installation is essential here.
DailySoft EML to IMAP Converter- Automate Conversion Program
It is a simple program DailySoft EML to IMAP Converter for conversion of selective EML files to IMAP. No third party application support it requires. The goal of conversion completes without putting much effort.
Significant Features of EML to IMAP Exporter
- It is a simple utility to download and run independently because it is a self-descriptive program. The conversion process needs no technical help.
- The process of conversion ends in four easy steps. Each step is interconnected. Hence, the tool helps you get results without getting failed.
- Export of data is in bulk. Users have complete flexibility to choose single, double, triple, and as many EML files as they want to export them at once.
- It configures with the Mailfence account automatically as you provide the credentials with host and port details.
- The exported data saves in an old folder or a new folder. It depends on your choice. Hence, the tool makes email file management easy.
- After conversion, it creates a log link to see how many files are exported successfully by the application.
- The app licensed version is valid for unlimited duration to use as long as you desire.
Steps to Operate the Program
- Download the program on your Windows system
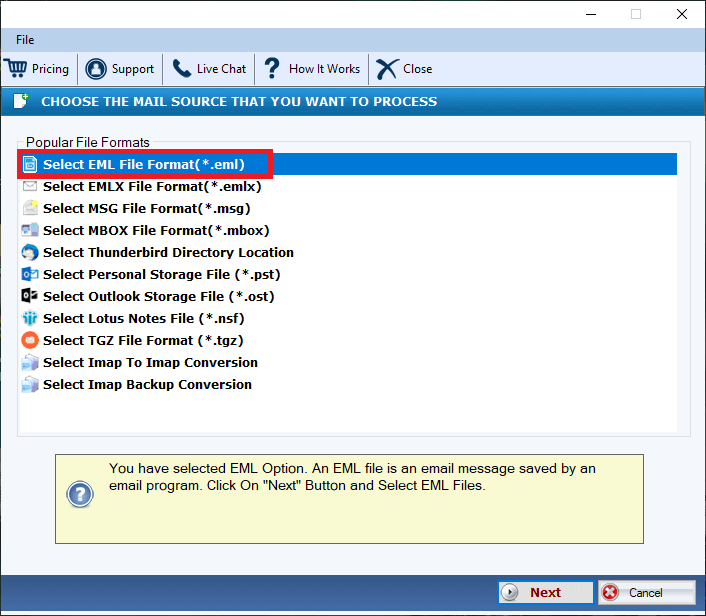
- Click on its icon to start it
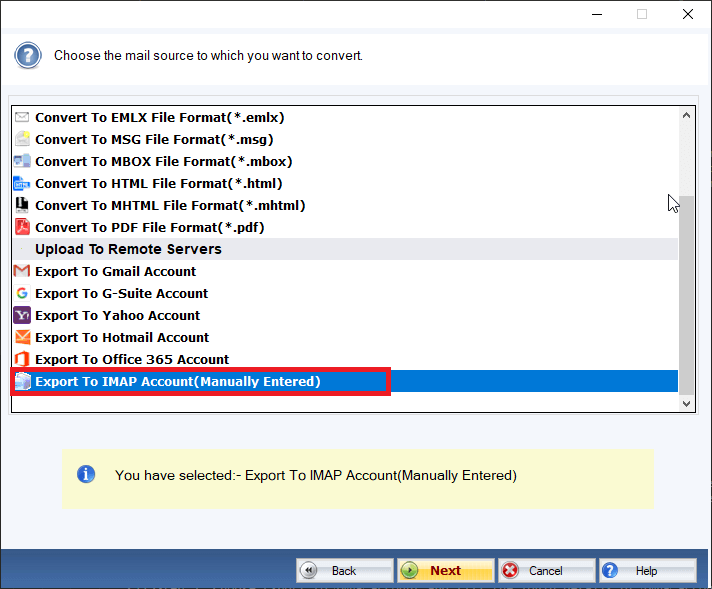
- Select EML file format from the list and press Next
- Select locally saved EML file by clicking on its Browse tab and then press Next

- Select Export to IMAP account and press Next
- Provide the credential details and press the Authenticate User tab
- Select an existing folder or create a new folder instantly
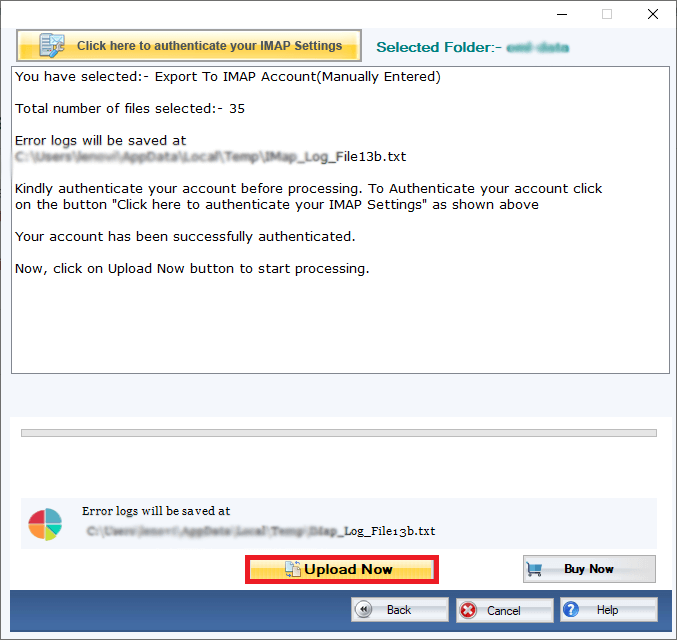
- Press the Continue button to transfer data
Conclusion
When you compare manual conversion with a third-party professional application, you can easily differentiate the best one. The demo version of the app is available to download. Give a try to the demo version and then move to the program paid version.